
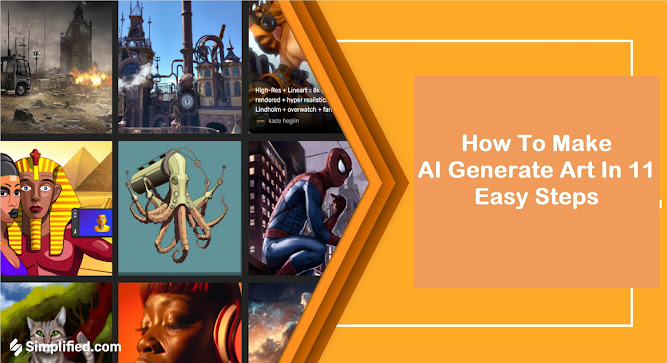
How To Create AI-generated Pictures Step by Step Guideline: Easy Method
Below is a
step-by-step guide to creating AI pictures:
Step 1:
Choose an AI Image Generation Tool or Library Select an AI image generation tool or library that suits your needs. Some popular options include DALL-E by OpenAI, DeepArt, Artbreeder, and RunwayML. Ensure the tool you choose aligns with your project requirements and technical expertise.
Step 2:
Understand the AI Model and Input Requirements Familiarize yourself with the AI model and input requirements of the chosen tool. This may include understanding the type of input data, such as text prompts, images, or combinations of both, that the AI model needs to generate images.
Step 3:
Prepare Your Data or Text Prompts If the AI model requires text prompts, gather relevant data or descriptions related to the type of images you want to generate. The prompts should be clear and concise, describing the desired visual elements.
Step 4:
Input Data or Prompts into the AI Model Enter the prepared data or text prompts into the AI model through the tool's interface or API. Some AI tools may offer an interactive web interface, while others might require scripting or programming knowledge.
Step 5:
Generate AI Images Initiate the AI image generation process and allow the model to create the images based on the provided input. The AI algorithm will use its training data and neural network to produce unique and creative visuals.
Step 6:
Review and Select Images Once the AI image generation is complete, review the generated images. Choose the ones that align best with your project's goals and requirements. You may need to iterate this process to get the desired results.
Step 7:
Customize and Fine-Tune (Optional) If necessary, customize and fine-tune the generated images. You can use image editing software like Photoshop or GIMP to make adjustments, add text overlays, or apply filters to match your brand and style.
Step 8:
Optimize Image File Sizes Compress the AI-generated images to optimize their file sizes for web use. This ensures that your website's loading speed is not negatively affected.
Step 9:
Add Descriptive Alt Text and Captions For each image, provide descriptive alt text and captions that accurately describe the content of the images. Alt text is essential for accessibility and SEO purposes.
Step 10:
Integrate Images into Your Website or Blog Upload the AI-generated images to your website or blog and incorporate them into your technology news content. Place the images strategically within your articles to enhance engagement and readability.
Step 11:
Test and Monitor Performance Monitor how the AI-generated images perform on your website or blog. Analyze user engagement and feedback to understand their impact on your audience. Use this information to continuously improve and refine your AI picture generation process
Stay tuned
to http://www.usmanacademy.com for latest Techonology news, updates, videos and expert analysis. Our comprehensive coverage
keeps you informed about the latest happenings in the TECH world.


0 comments:
Post a Comment